Potsunentchi
Land Field · Sprout Species · 0â1 mistakes
| Shell | Pink Land (starting) · Blue Water & Purple Sky (unlock at Level 6) |
| Field | Land Field |
| Food type | Default Pellets (no dominant food type) |
| Care level | Near-perfect (0â1 total mistakes) |
| Sick chance | 35% |
Who Is Potsunentchi?
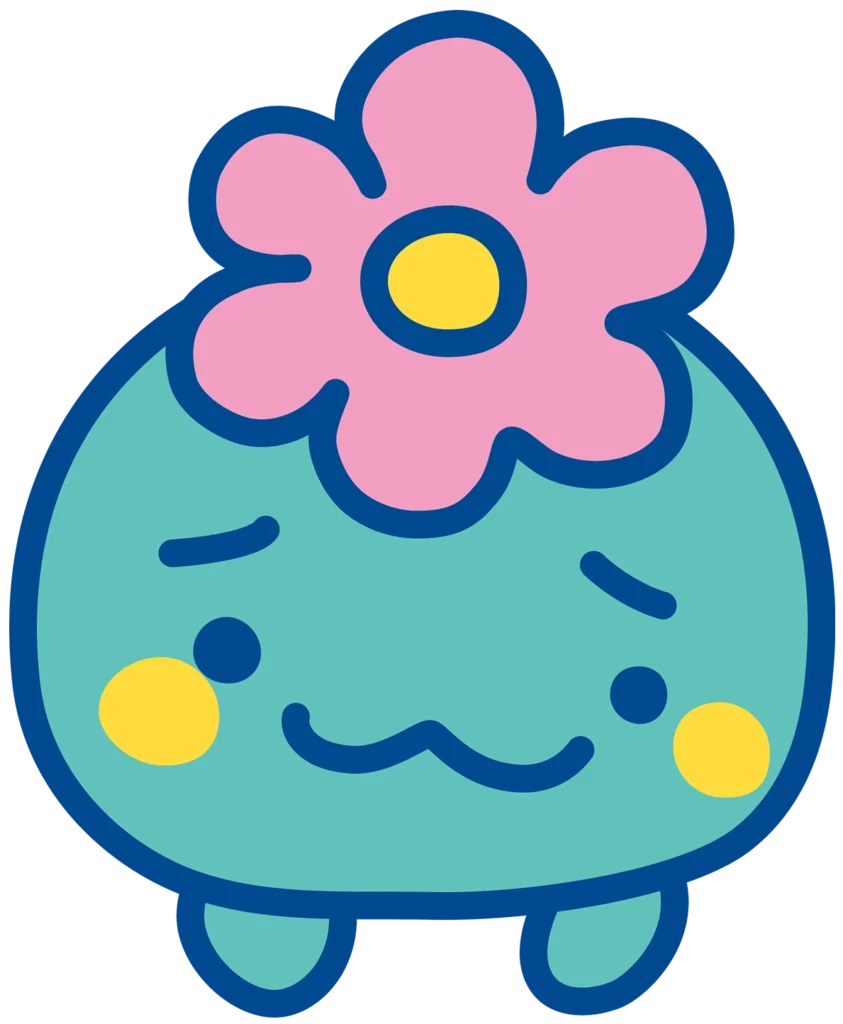
A potted plant character â a small round creature nestled in or defined by a compact clay-colored form, with a single sprout emerging from the top and the placid expression of something that decided a long time ago that it was fine exactly where it is. Unpretentious, grounded, and quietly charming.
The near-perfect result for the Land Field’s Sprout Species. Potsunentchi got good care but not obsessive care, and it developed exactly the personality you’d expect from that upbringing: stable, content, occasionally surprised by the world but not troubled by it.
Stats
| Stat | Value |
|---|---|
| Hunger drops every | 70 min |
| Happiness drops every | 80 min |
| Sick chance after care mistake | 35% |
How to Get Potsunentchi
Step 1 â Get into the Land Field
Start on the Pink Land shell, which begins in the Land Field. On the Blue Water shell the Land Field unlocks at Level 6; on the Purple Sky shell at Level 4.
Step 2 â Feed default pellets during the Kid stage
The Sprout Species path requires no dominant food type â feed default Pellets or a deliberately mixed diet so that no single food icon dominates in your Tama Cell.
The simplest approach: only feed default Pellets throughout the Kid stage. Your Tamagotchi will evolve into Sprout Young without any food-type icon appearing.
If you’ve accidentally built up one food type, switching to Pellets will dilute it over time. Switching fields is the only way to fully clear existing food icons instantly.
Step 3 â Hit the right care level
Requirement: 0 to 1 total care mistakes across the Kid and Young stages.
How care mistakes work in Tamagotchi Paradise:
Care mistakes accumulate across both the Kid and Young stages combined â they don’t reset when your Tamagotchi evolves from Kid to Young. So if you made 2 mistakes as a Kid and 1 as a Young, your total is 3.
A care mistake happens when:
â Hunger or happiness hits zero and you don’t respond within the grace period
â Your Tamagotchi gets sick and you don’t treat it promptly
â You ignore the sick animation in the Tama Cell
How to track your mistakes: Zoom all the way into Cell View using the dial. Each spiral icon = one care mistake. Count them.
Important: If you hit exactly 0 mistakes AND maxed both meters 5+ times each, you’ll get the perfect care character (Furawatchi) instead. To reliably get Potsunentchi, aim for exactly 1 mistake, or allow 0 mistakes without maxing the meters 5 times.
Full Sprout Species Evolution Line
All four Sprout adults come from Sprout Young, raised in the Land Field on a default or mixed diet during the Kid stage (no dominant food type). The only variable between these four characters is your total care mistake count.
| Character | How to Get |
|---|---|
| Furawatchi | Perfect care â 0 mistakes + Hunger maxed 5Ã+ + Happy maxed 5Ã+ |
| Potsunentchi â you are here | Near-perfect â 0â1 total mistakes |
| Tusushtchi | Moderate neglect â 2â5 total mistakes |
| Shigemi-san | Heavy neglect â 6+ total mistakes |
Key reminder: Care mistakes are cumulative from the Kid stage onward. Two mistakes as a Kid plus one as a Young equals three total â putting you in the 2â5 range.
Checking your count: Zoom into Cell View with the dial. Each spiral icon = one care mistake.
Fun Facts
Potsu (ã½ã¤) in Japanese suggests something small and singular â a single drop, a lone object sitting by itself. The name fits a potted plant character that seems perfectly content in a fixed spot. Potsunentchi has one of the most balanced stat pairs in the Land Field at 70/80 minutes, making it one of the most relaxed-maintenance Sprout adults to live with day to day.
Food Preferences
| Category | Details |
|---|---|
| Favorite type | Plant/vegetable items â Carrots, Bamboo Grass, Vegetable Stew, Steamed Veggies |
| Disliked foods | Meat items â Big Meat, Steak, Grilled Meat trigger rejection |
| Note | A pot plant that dislikes meat is not a controversial position. Vegetable preference follows the Sprout Species’ plant-based identity. Thematic inference; verify in-game. |
Personality & Raising Tips
Potsunentchi is one of the most comfortable Land Field adults to maintain on a normal daily schedule. The 70/80-minute drain split is forgiving â check in every 70 minutes for feeding and every 80 for happiness, or just do a combined check every hour and you’ll consistently stay ahead of both.
The Sprout path (default pellets only) is the lowest-friction route in the Land Field, which makes Potsunentchi a natural landing spot for players who don’t want to think too hard about food sourcing. No egg hunt items needed, no cooking required â just Pellets.
For intentional Potsunentchi runs: Default Pellets only during Kid, then attentive care with 0â1 mistakes during Young. One mistake is allowed, which gives you a comfortable margin. If you hit zero mistakes but forget to max the meters (the Furawatchi threshold), you’ll get Potsunentchi anyway â it’s actually the easier-to-land bracket of the two.
Personality in lore: Settled and warm. Potsunentchi doesn’t have ambitions to leave its spot â the world is interesting enough from where it is. In fan communities it’s often described as the most “cozy” Land Field character: the one you raise on a slow weekend when you want company that doesn’t demand anything dramatic from you.
Who Should Raise Potsunentchi?
Potsunentchi is one of the most approachable characters in the entire Land Field â near-perfect care requirements, no specialty food sourcing, and a 70/80-minute maintenance profile that suits casual and busy players alike. If you can check in every hour or so for feeding and every 80 minutes for a game, Potsunentchi is effortless to keep happy. Players who want a relaxed, rewarding character without committing to the 40-minute hunger check-ins that Furawatchi demands will find Potsunentchi is the better daily driver for the Sprout path.
How Potsunentchi Compares
Potsunentchi’s 70/80 split is the most balanced in the Sprout Species â more forgiving on hunger than Furawatchi (40m) and Tusushtchi (50m), and with a happiness drain that matches only Shigemi-san (90m) in forgiveness within the species. Among all Land Field near-perfect adults, Potsunentchi has the most forgiving happiness drain at 80m, tied with Mametchi and Pochitchi. Its 70-minute hunger drain is average for the Land Field. The combination makes it the most “plug and play” near-perfect character in the field â neither stat demands unusual effort.
Frequently Asked Questions
What’s the difference between raising Potsunentchi and Furawatchi in practice?
Zero mistakes vs. one allowed, and the meter maxing requirement for Furawatchi. Potsunentchi is significantly easier to target intentionally. Once you have it, the maintenance experience is similar â the main difference is Furawatchi’s 40-minute hunger drain versus Potsunentchi’s more manageable 70 minutes.
Can Potsunentchi appear on other shells?
Yes â any shell with the Land Field available can produce Potsunentchi given 0â1 care mistakes and Sprout Young (default pellet diet) during Kid.
Can Potsunentchi breed?
Yes. All adults in Tamagotchi Paradise can breed with any compatible adult of the opposite gender. After breeding, the egg hatches into Babymarutchi and the evolution cycle starts fresh â the baby’s adult form depends on your field, food, and care choices, not on which parents bred.
About This Character’s Field
The Land Field is the starting field on the Pink Land shell and unlocks at Level 6 on Blue Water and Level 4 on Purple Sky. Land Field characters have Meat, Carrot, Bug, and Default Pellet evolution paths. All Land Field characters have a 35% sick chance (with one exception â Elizardotchi at 30%).
For the complete evolution picture across all fields and shells, see the Full Evolution Chart. For detailed mechanics on how care mistakes work, see the Care Mistake Guide.